
RESIN AXE
The creation of the resin axe was a specialism I took on to work on and develop my skills in mould making, casting, woodwork, digital skils and detailing all within a project that combined my love for fantasy and my own cultural history.
Photo by Rorie Brophy


I started this project like I do with every project by researching and collecting reference images
With my research I created a reference board, only keeping my relevent references as to not confuse myself with the final design.


Parashu
Shadowmourne
Because I’m from Bangladesh I wanted to create a weapon influenced by South Asian culture but still felt medieval fantasy. This is why I used the Parashu, a historical Indian Axe, as my main reference for this project and the ‘Shadowmourne’ axe from the video game 'World of Warcraft' as my reference for the more magical fantasy elements of my axe.

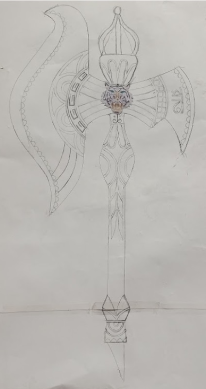
The initial design of my axe.

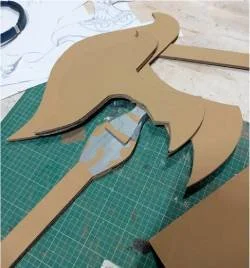
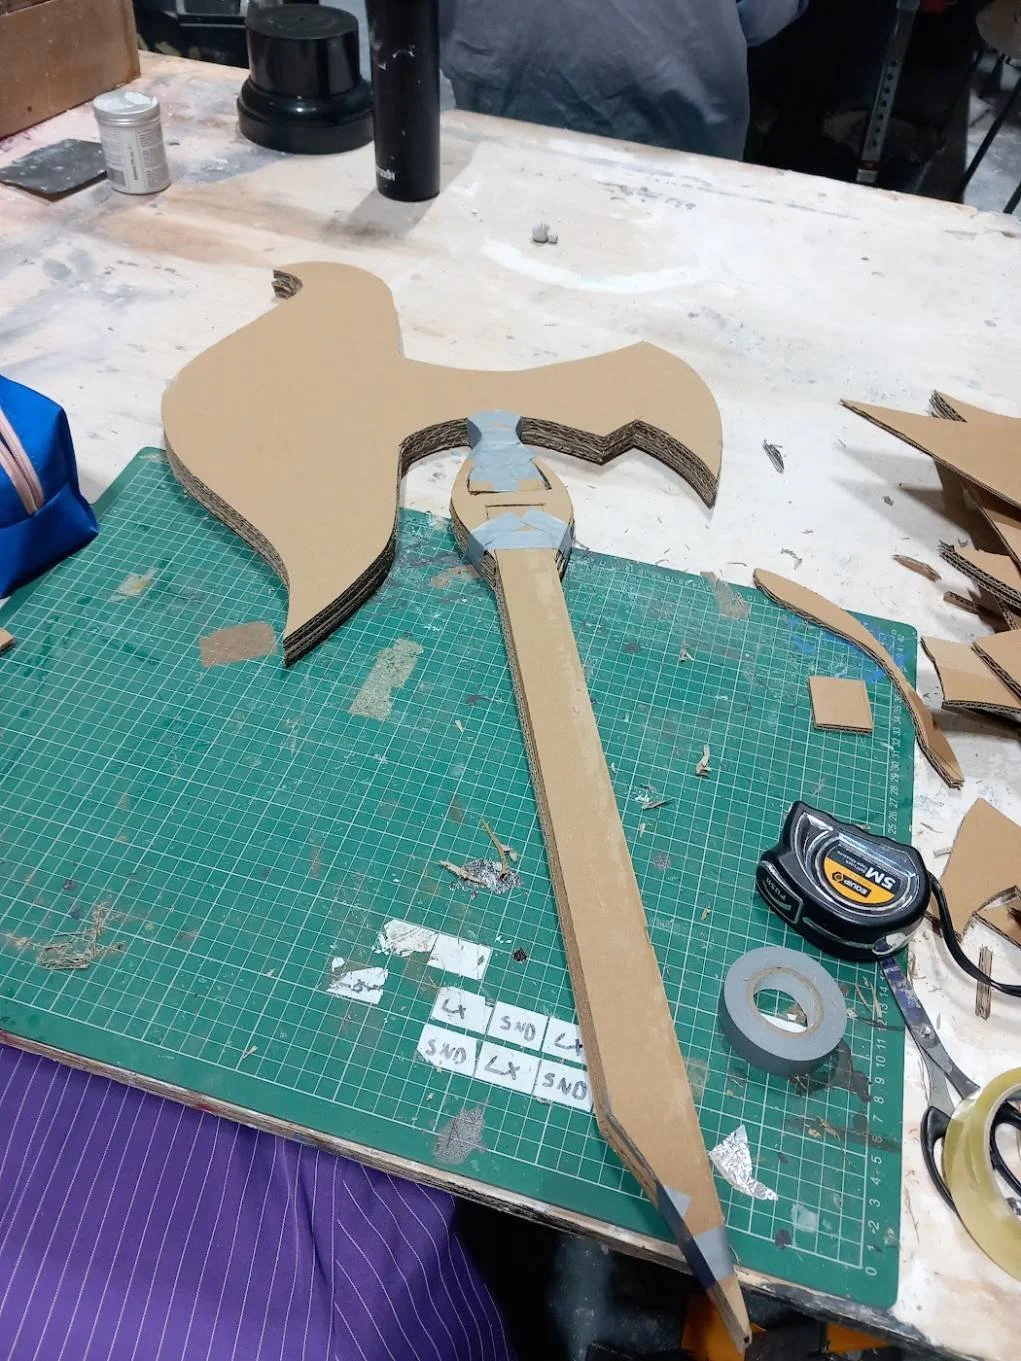
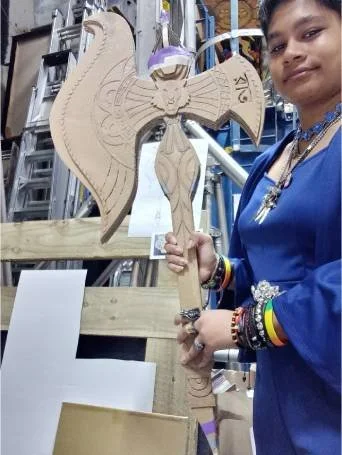

With my final design, I then started with creating a detailed cardboard maquette. As a very practical prop maker, I find it easiest to create a physical, simple model of whatever prop I am making to get a very clear sense of scale and allow for me to create any adjustments before I move on to creating the actual prop.
Here you can clearly see the adjustment I made with the axe, such as making the head bigger and the handle shorter to make the axe proportional to myself.
Using the cardboard maquette I created the final to scale drawing of the axe and used it to create an AutoCAD drawing.


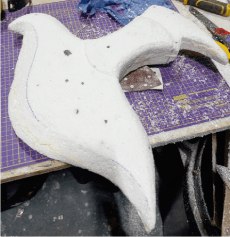
I moved on to the creation of my axe. The first step was creating the mould for it caving it out of polystyrene and then plastering and sanding the axe to shape. I then took the AutoCAD drawing and laser cut all the details on my axe to create the shape that I will be moulding.
Creating the axe head for the weapon mould, took around 5 days to make


Creation of the two-part mould that took me a total of three days to complete.


Creating the tiger’s face was quite a simple process. Moulding the face in clay and then casting it in silicone to create a mould.

The two tigers were cast in polyester resin with silver powder mixed in.


The handle and top piece of the axe were made using blocks of wood that I carved using the lathe. This was the first time I had ever used a lathe, but I very quickly picked up the skill. It took me less than a day the handle and top piece, and then another day to paint both items.

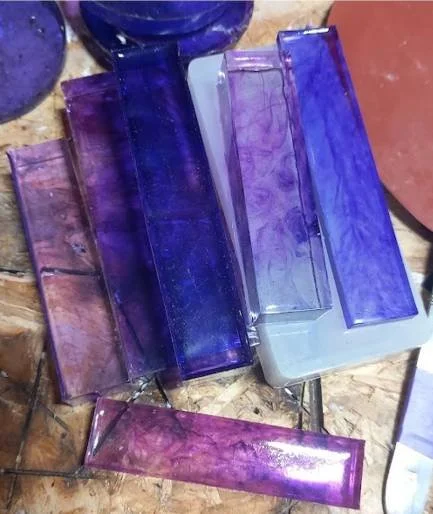
I first tested some sample resin pieces to see the different colours before I cast the full axe.


Pouring the resin had to be done in intervals because of how hot the resin gets, which can lead the resin to crack. This did happen however, on slightly and was a very simple fix.
I also casted the small point for the bottom of the axe.


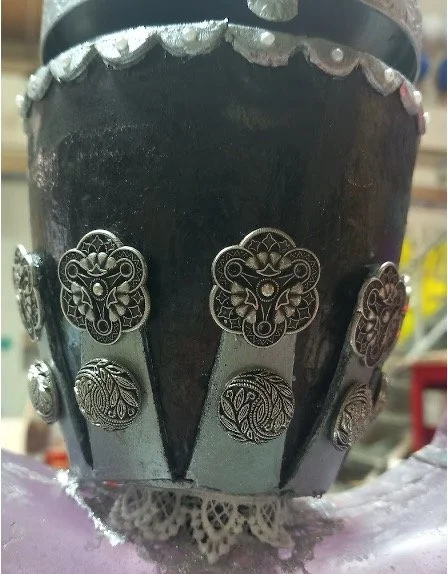
With all the pieces I now was left to assemble and render the axe, attaching everything together and adding ornamental details to my axe.


Final Renders
Photo by Rorie Brophy